
How to Add Members
Anyone using your space needs a member account to track their activity within the space. Depending on your identity provider setup, accounts are either linked to an Eolymp username or hold independent user credentials.
Prerequisites
Before adding users, make sure your space is configured according to your needs:
Configure space visibility: Decide if you want the space to be public (allowing visitors to see the website) or private (requiring users to log in before viewing the site).
Configure the identity provider: Choose whether users will log in with their Eolymp accounts, or if you'd prefer to manage usernames and passwords yourself.
Configure profile fields: Define any additional information you want to collect from users by configuring custom profile fields.
Configure display name: Decide if you want to display nicknames or full names in the console and on the space website.
Configure groups: Configure groups, to be able to organize your members into groups for easier management.
Adding members
Once you've adjusted these settings to suit your needs, you can begin adding users to your space. Here's how:
Open the console and select your space.
Click on the Members section in the left-hand menu.
Click Add Member and fill out the basic information.
The form for adding members varies based on your identity provider configuration. For the Eolymp Identity Provider, you'll only need to enter the username, and the rest of the information will be filled automatically when the user logs in.
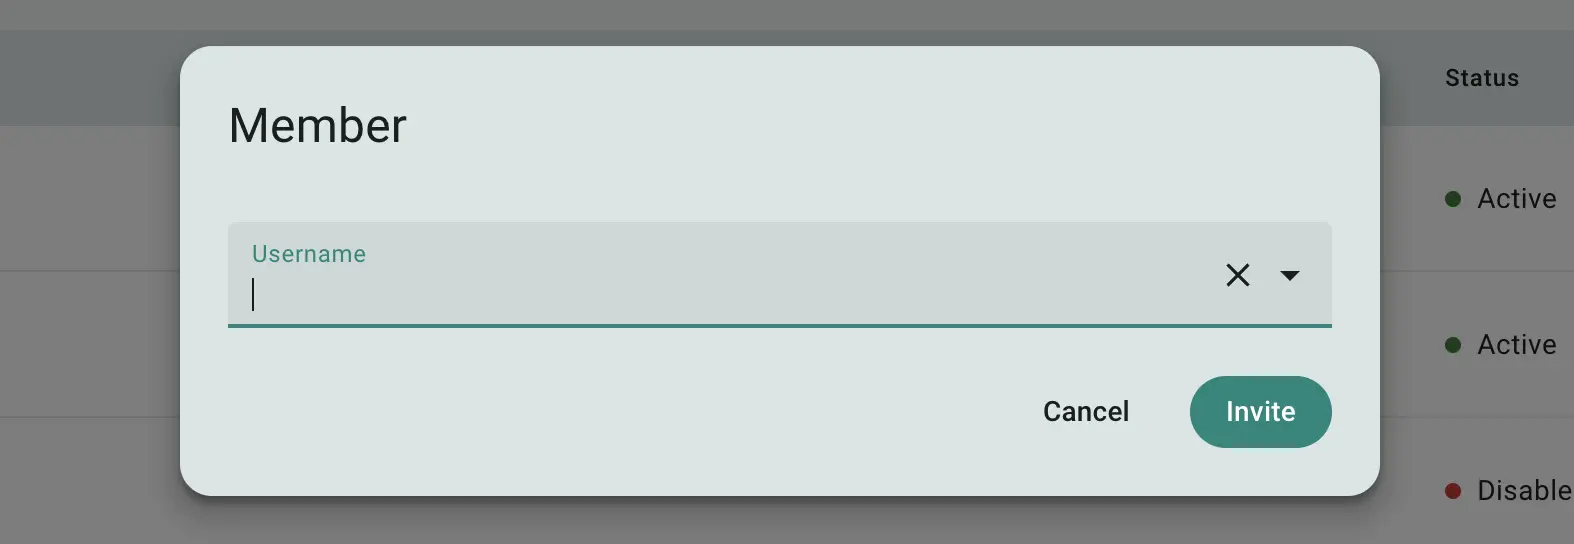
Fig 1. Adding a member using the Eolymp Identity Provider
For the Space Identity Provider, you’ll need to manually provide all basic information.
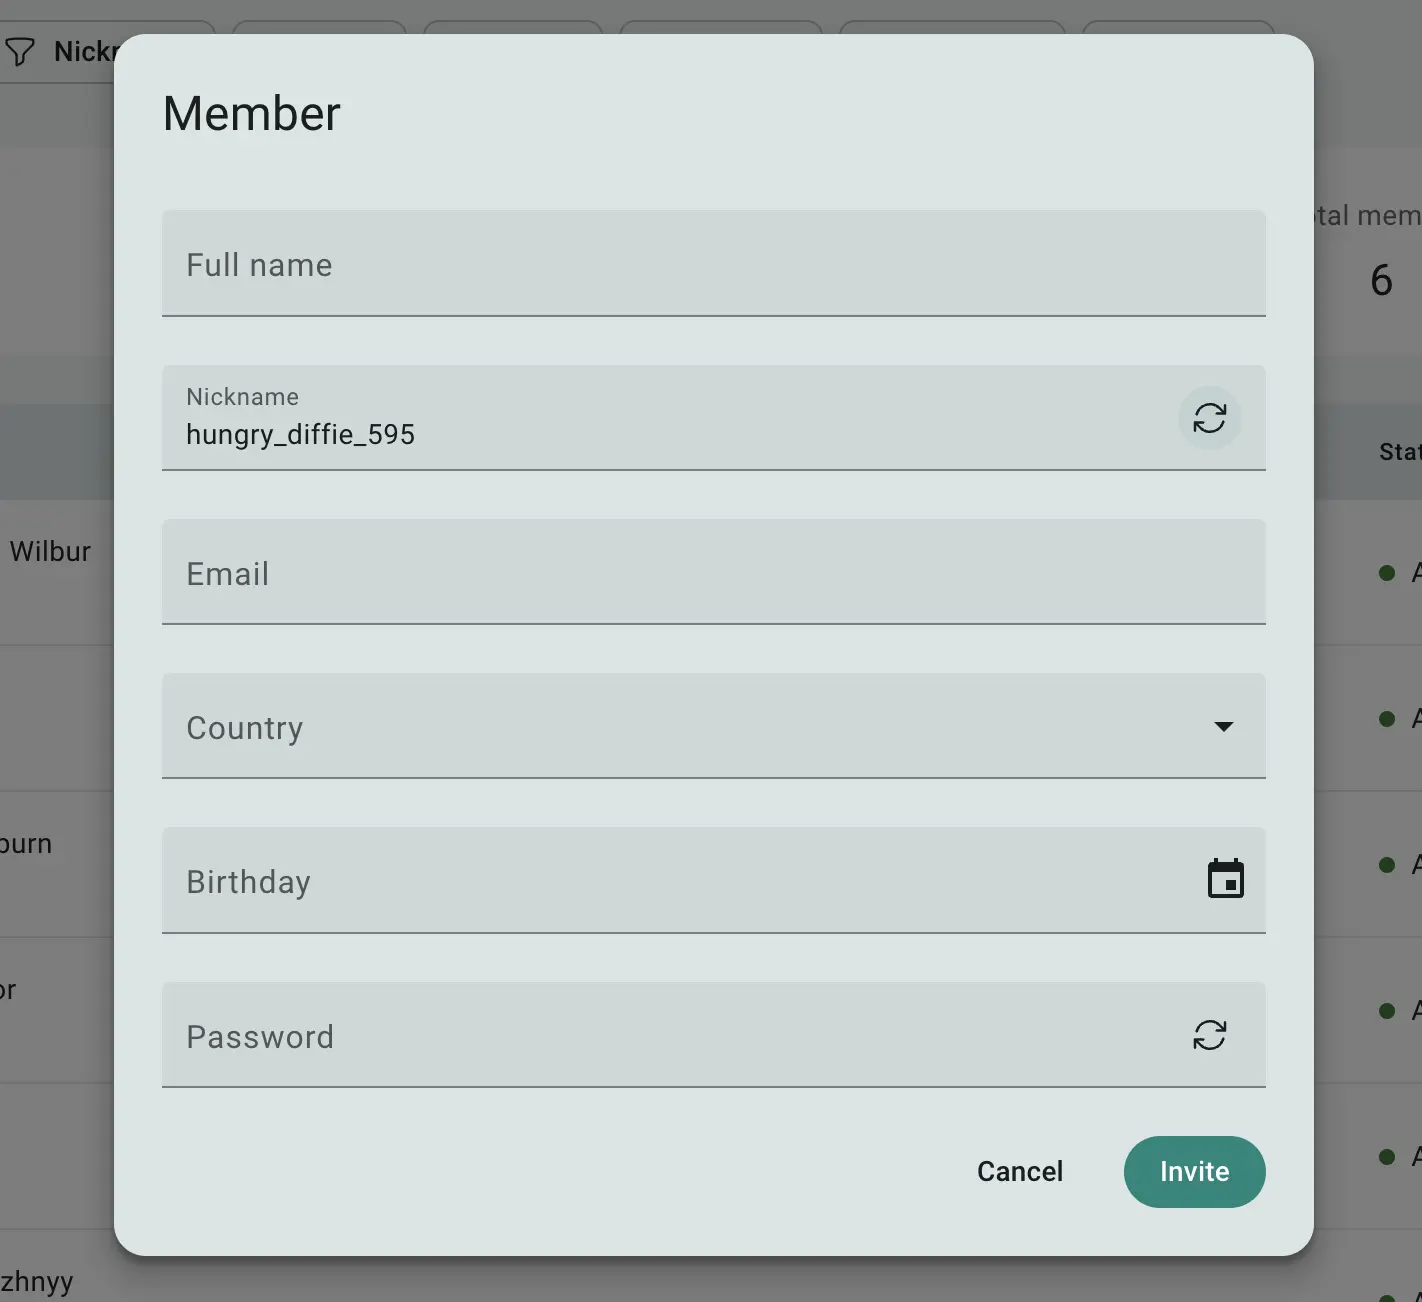
Fig 2. Adding a member using the Space Identity Provider
After adding a member, you will be able to configure additional fields and assign member groups.
 Stand with Ukraine