
Identity Providers
Eolymp allows you to choose the identity provider that manages user logins for your space. An identity provider is the service responsible for handling login credentials. You can either use the Eolymp Identity Provider, which lets users log in with their Eolymp accounts, or opt for the Space Identity Provider, which gives you full control over managing user credentials yourself.
For most spaces, the Eolymp Identity Provider is the simplest choice. Users log in securely using their Eolymp accounts, and their profile information is automatically synced with your space.
Alternatively, the Space Identity Provider offers full control over user accounts. This option allows you to manually manage usernames, passwords, and profile details.
How to Configure the Eolymp Identity Provider
The Eolymp Identity Provider is the default option when you create a new space. To adjust its settings:
Open the console and select the space you want to configure.
Click Settings in the left-hand menu.
Go to the Members section and select Identity Provider.
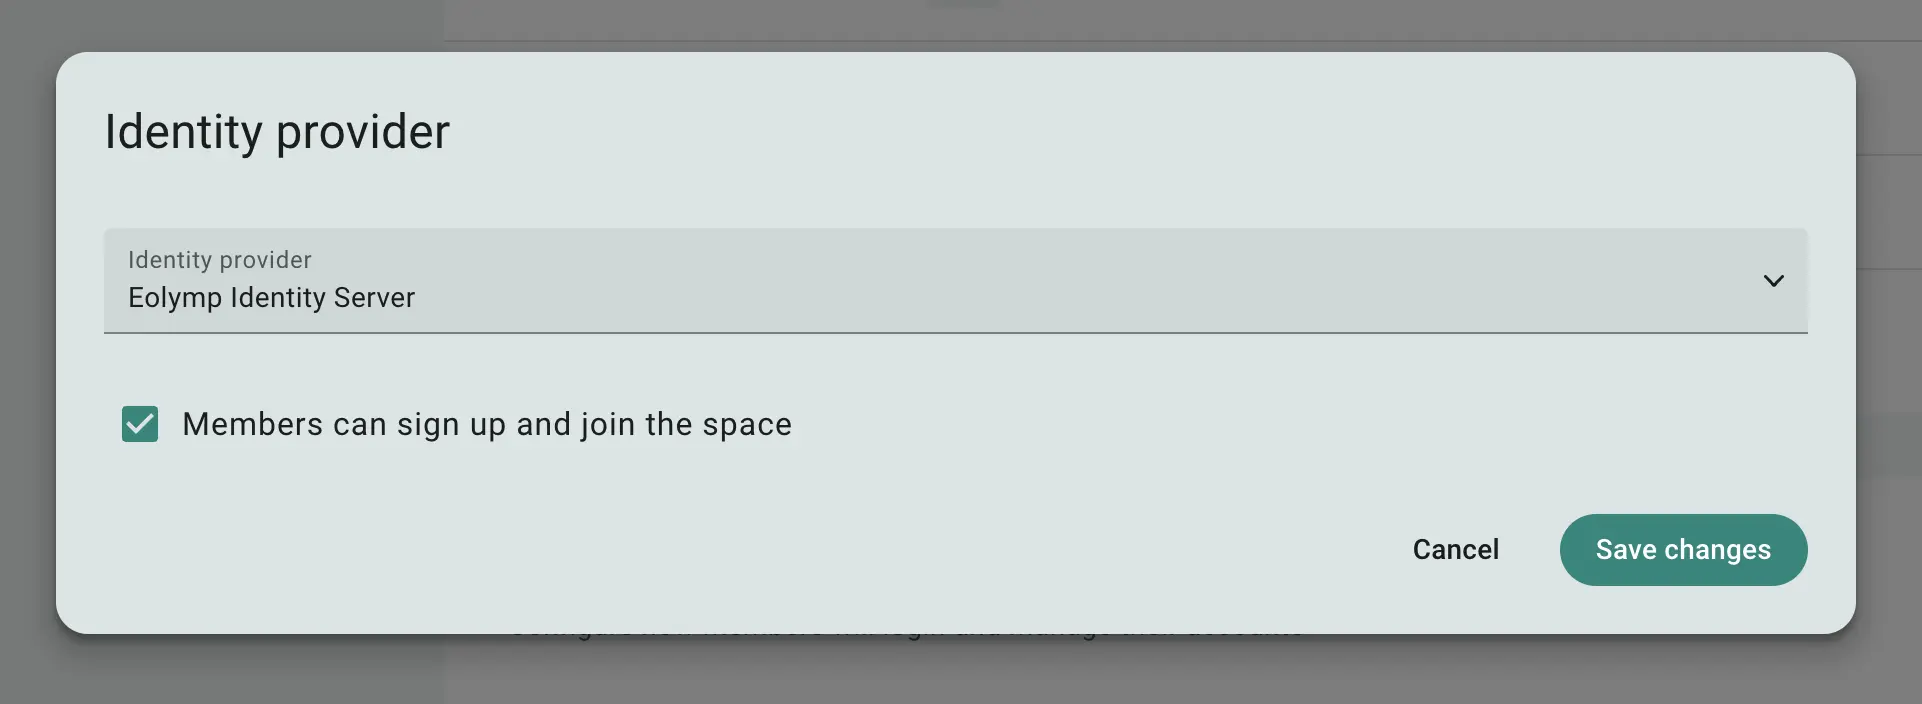
Fig 1. Eolymp Identity Provider settings
In the dialog box, you can confirm the Eolymp Identity Provider as your choice and configure the following options:
Members can sign up and join the space: If enabled, a member account will automatically be created for each user who logs into your space. If disabled, only manually added users can log in.
When you use the Eolymp Identity Provider, you cannot modify users' basic information, as it is synced directly from their Eolymp profile. To add a new user, simply enter their Eolymp login, and their profile will be automatically completed when they log in for the first time.
How to Configure the Space Identity Provider
For full control over user accounts, select the Space Identity Provider. This option lets you manually manage logins, passwords, and other user details. To set it up:
Open the console and select the space you want to configure.
Click Settings in the left-hand menu.
Go to the Members section and select Identity Provider.
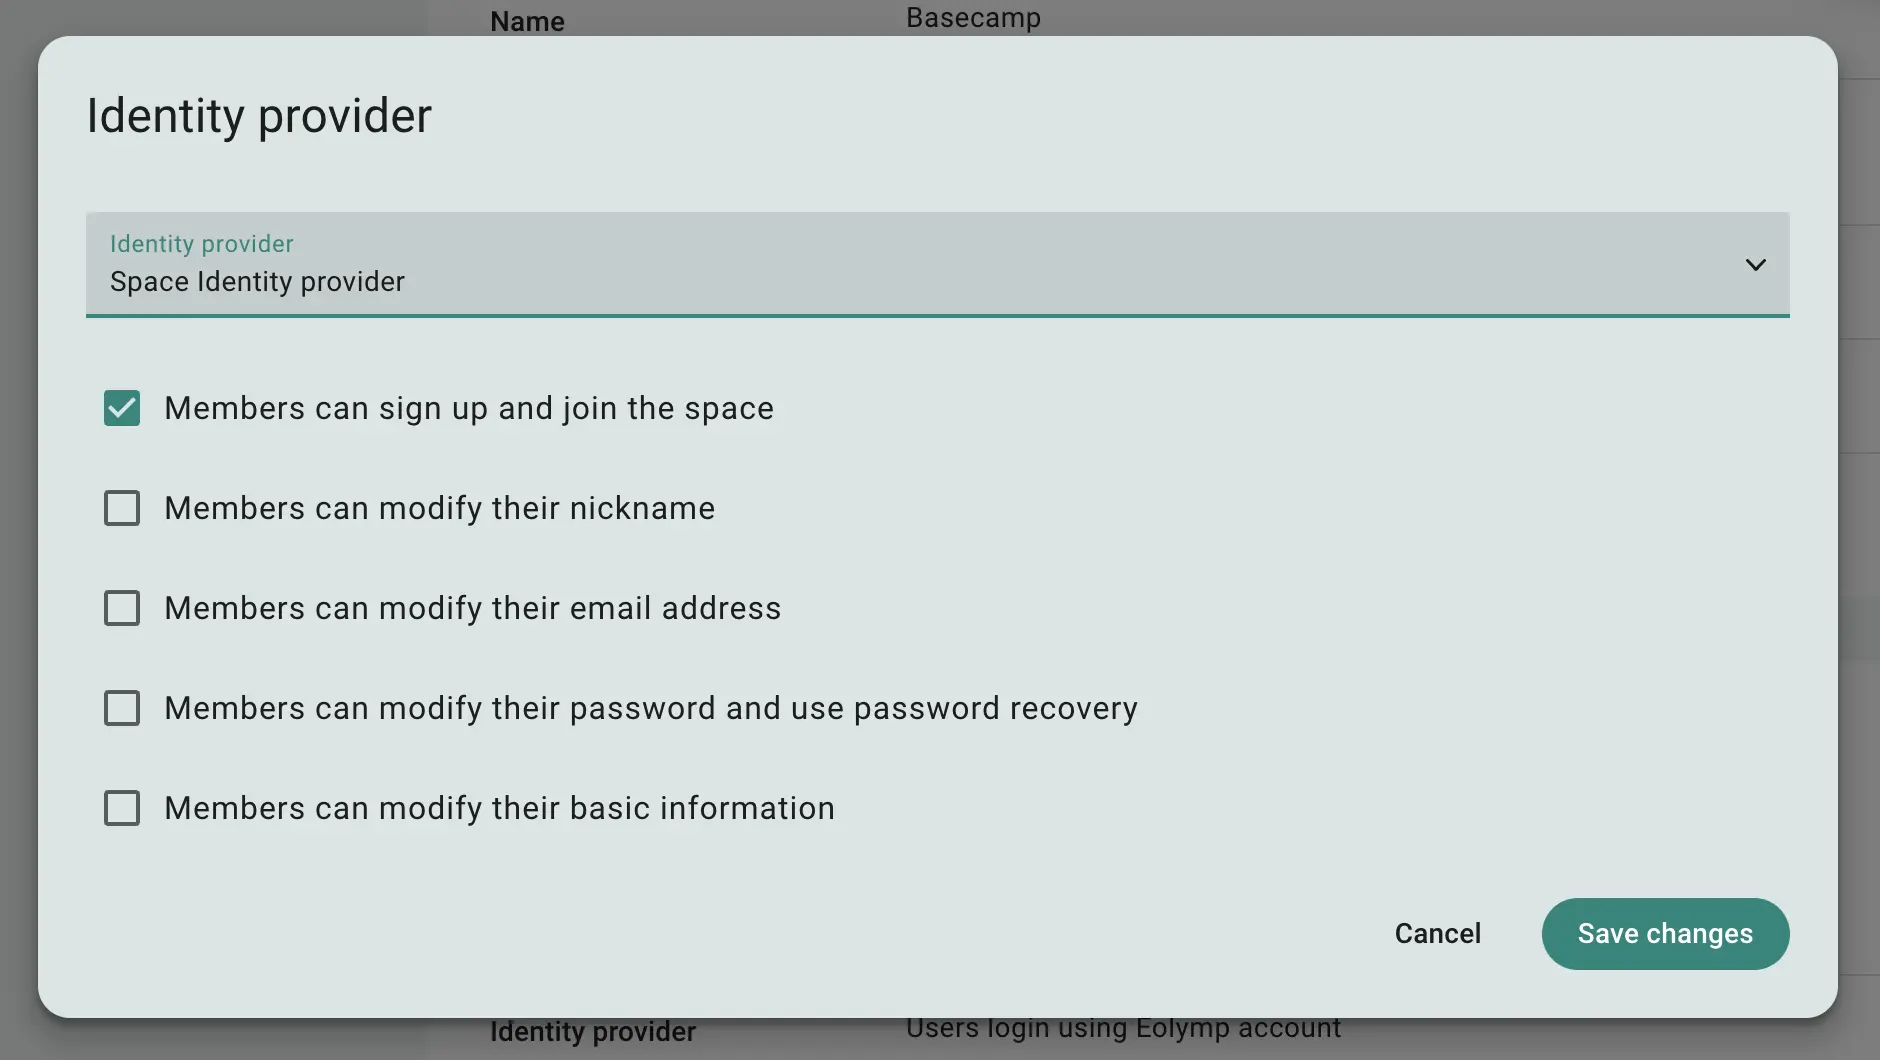
Fig 2. Space Identity Provider settings
Once you select the Space Identity Provider, additional options will be available:
Members can sign up and join the space: Allows users to create a member account using a sign-up form on your space’s website.
Members can modify their nickname: Users can change their login name, but only once a year for security reasons.
Members can modify their email address: Users can update their email address as needed.
Members can modify their password and use password recovery: Users can set their own passwords and use the "Forgot password" feature to recover access.
Members can modify their basic information: Users can update personal details like name, country, birthdate, and profile picture.
By customizing the identity provider that fits your space, you can manage user access in a way that best suits your needs.
To add a new user manually, you'll need to provide basic information, though the only required field is their nickname (login).
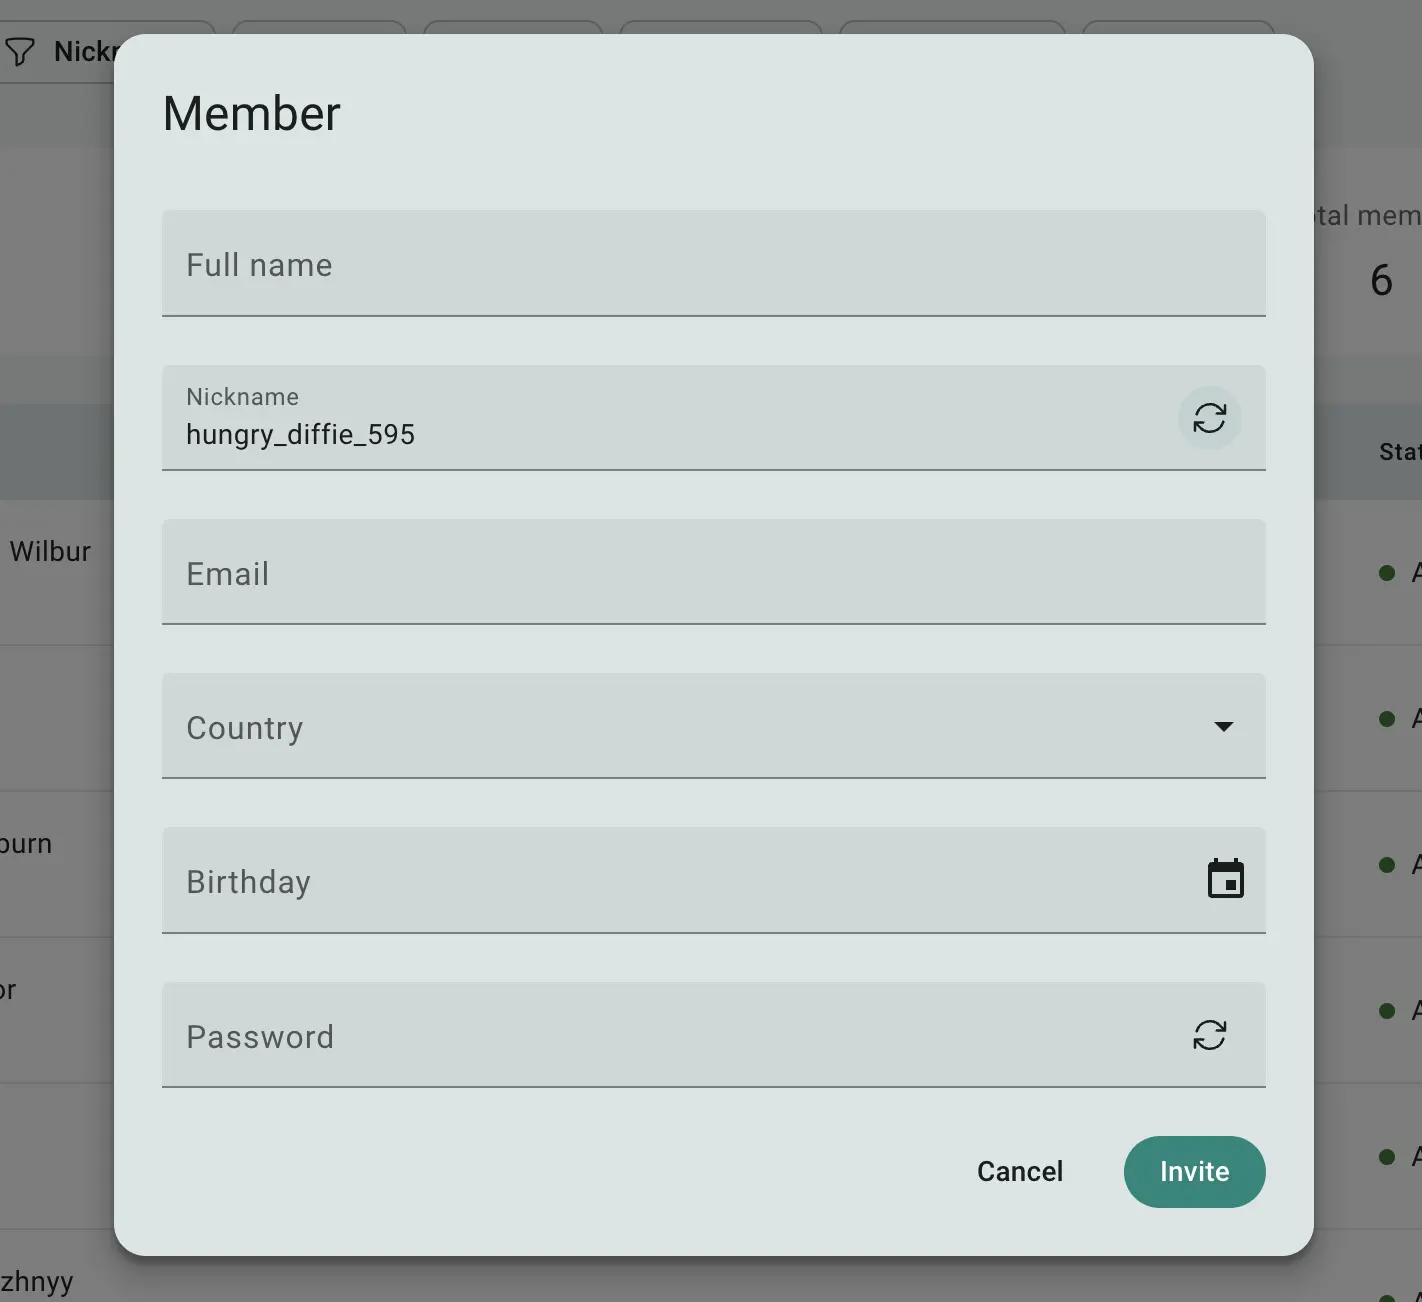
Fig 3. Form for adding a member to a space
 Stand with Ukraine