
Test Generation
Eolymp provides an option to generate test data using a program, eliminating the need to upload test data manually. This approach can help reduce errors and simplify problem maintenance. You can also combine manually uploaded tests with generated tests, for example, by uploading input data while using a generator to calculate the correct answers.
Test generators are programs that print input or answer data to their standard output. Additionally, answer generators receive input data via standard input, so you can use the author’s solution as an answer generator without modification. You can customize the generator's behavior by specifying additional arguments when defining generated tests.
The generation process runs asynchronously. Each time you modify the generator script or test parameters, a separate process generates the test data. This data is generated once and reused across evaluations. However, if a user submits a solution immediately after changes are made but before the test data is generated, the system will generate the test data as part of the evaluation process. Keep this in mind when modifying problems during an active contest.
Configuring Test Generators
To use test generators, you first need to create a generator script in the Scripts section, then configure it in the test itself.
Open the console, select the space and problem you want to configure.
Navigate to the "Scripts" section, create a new script, and provide the compiler and source code for the generator.
Go to the "Testing" section and select the test set.
Open a test and choose "Generate input data using script" and/or "Generate answer data using script."
Enter the generation command using the syntax:
script-name arg1 arg2 arg3.... The command consists of space-separated arguments, starting with the script name. The rest of the arguments are passed to the program during execution and depend on the generator's implementation.
After saving these changes, the system will schedule a test generation task. You can monitor the progress in the "Activity" tab of the problem.
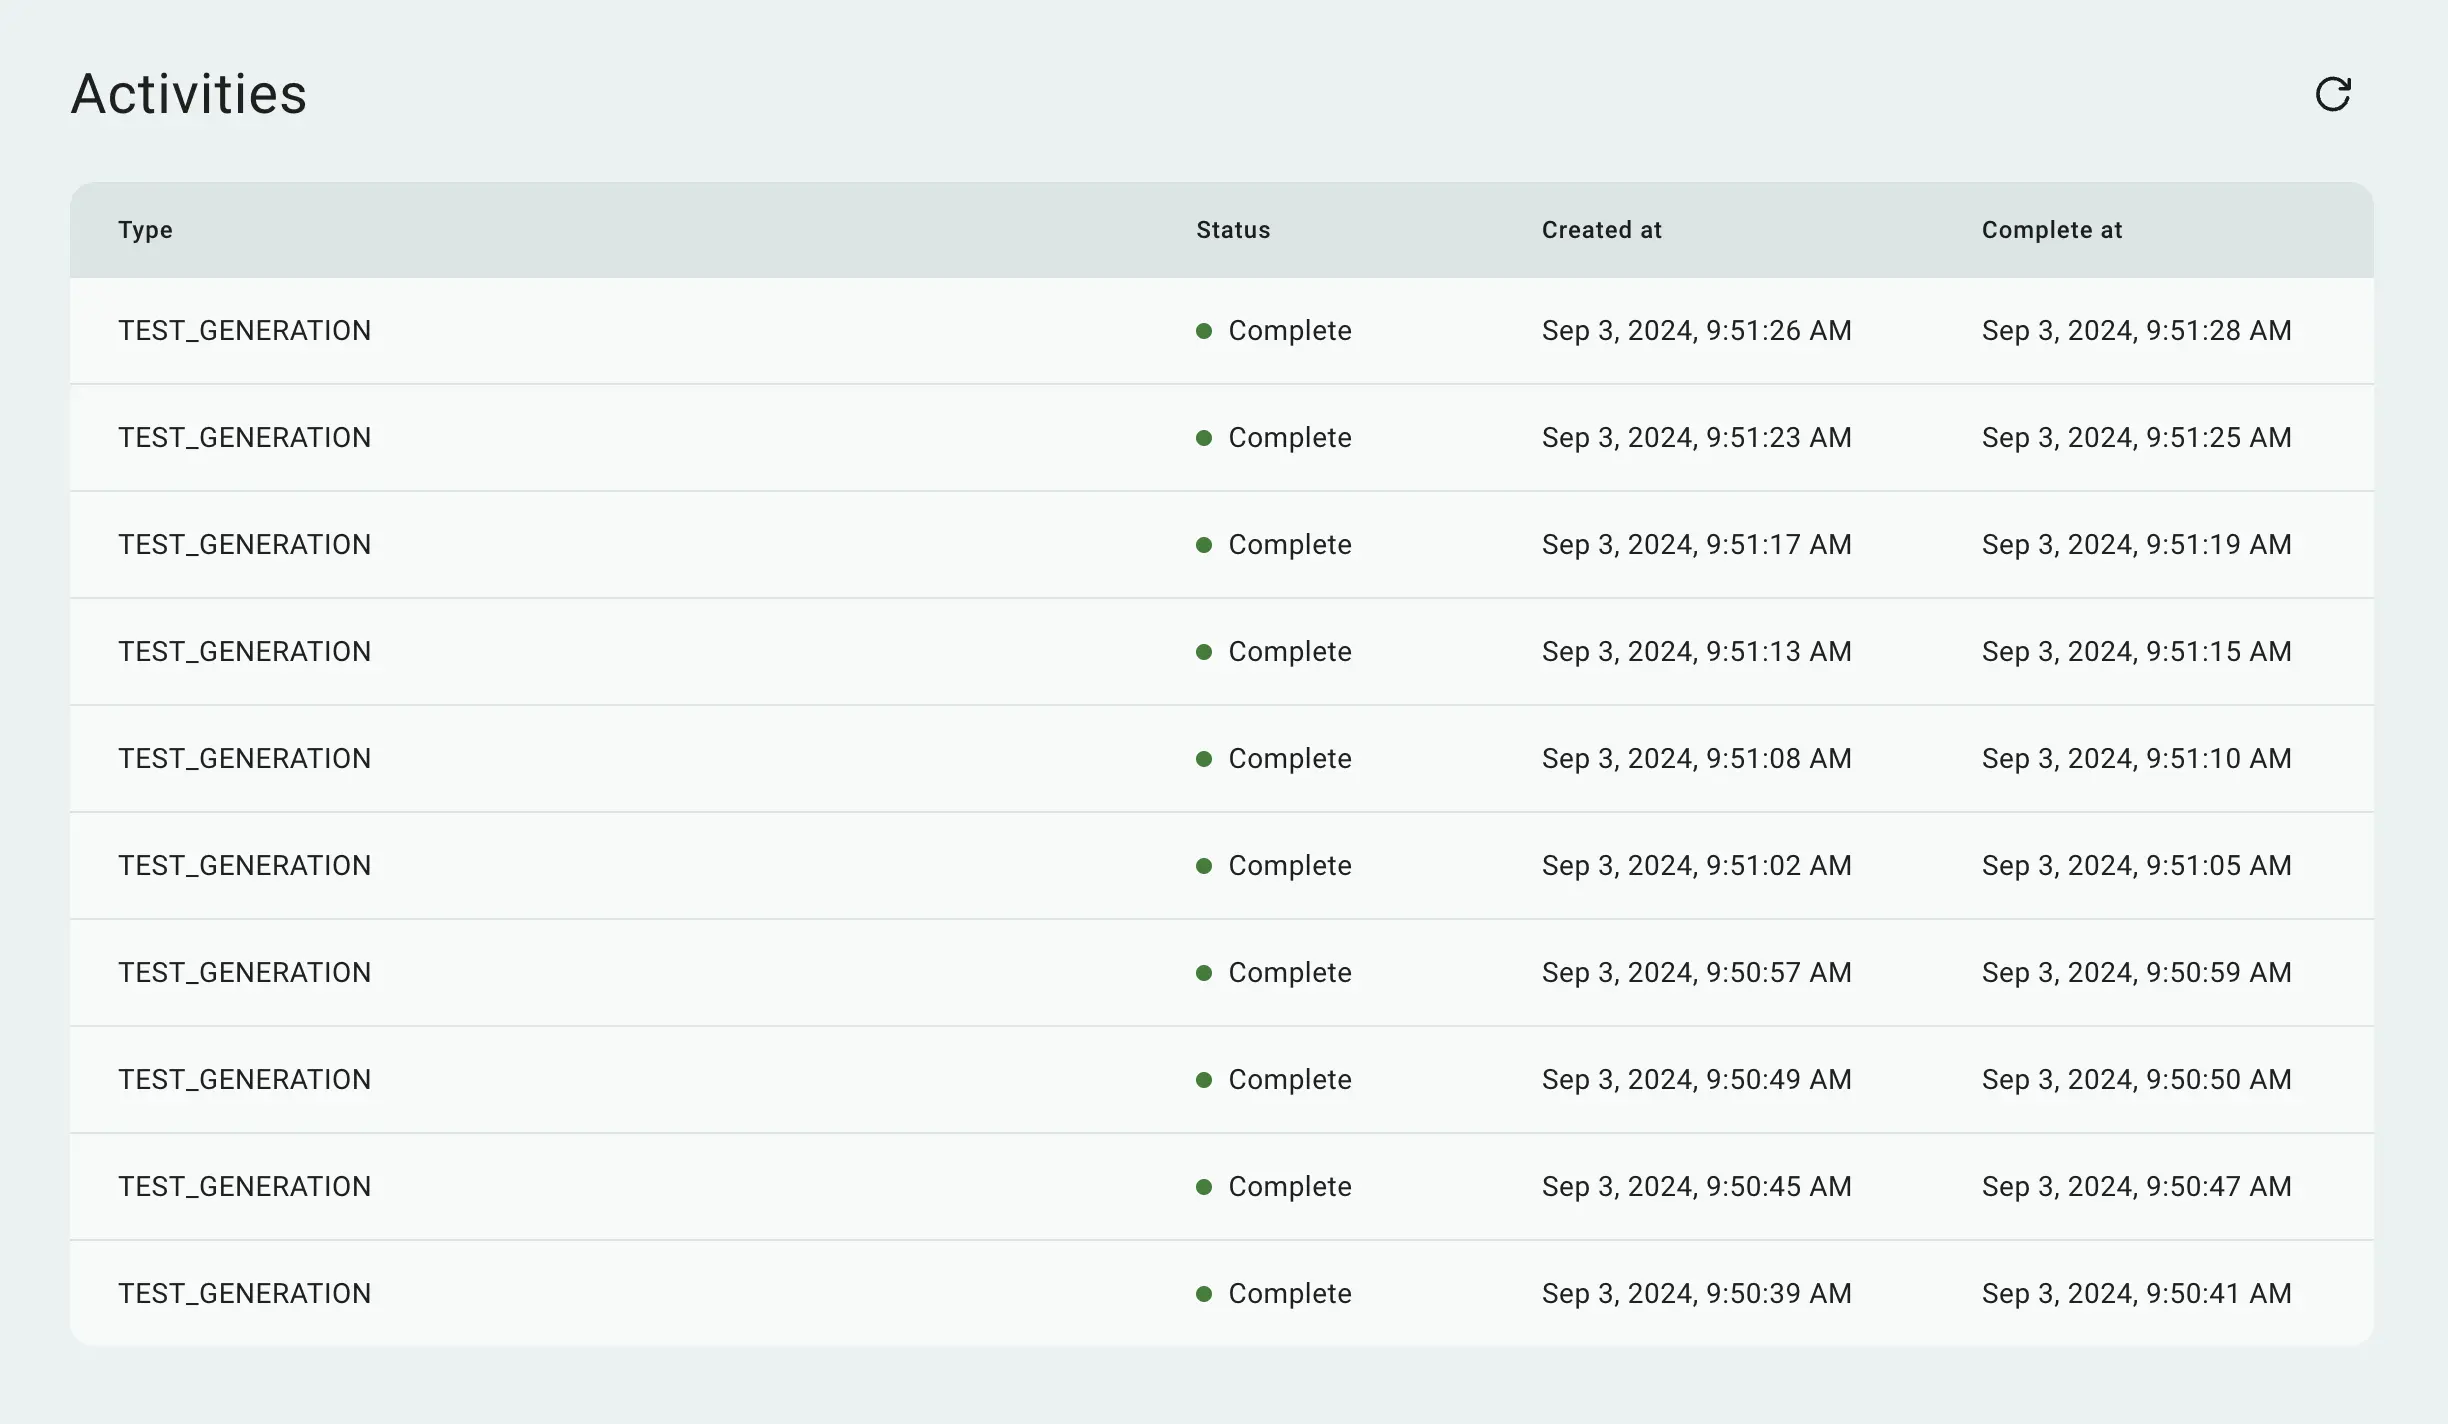
Fig 1. Activity section in the problem
Once the task completes, the "Answer preview" will be available in the test.
Examples
Generating Answers
The simplest way to use generators is by utilizing the author’s solution to generate answers. Just upload the input data, and the system will automatically compute the correct answers.
Prepare your input data files and the author's solution to the problem.
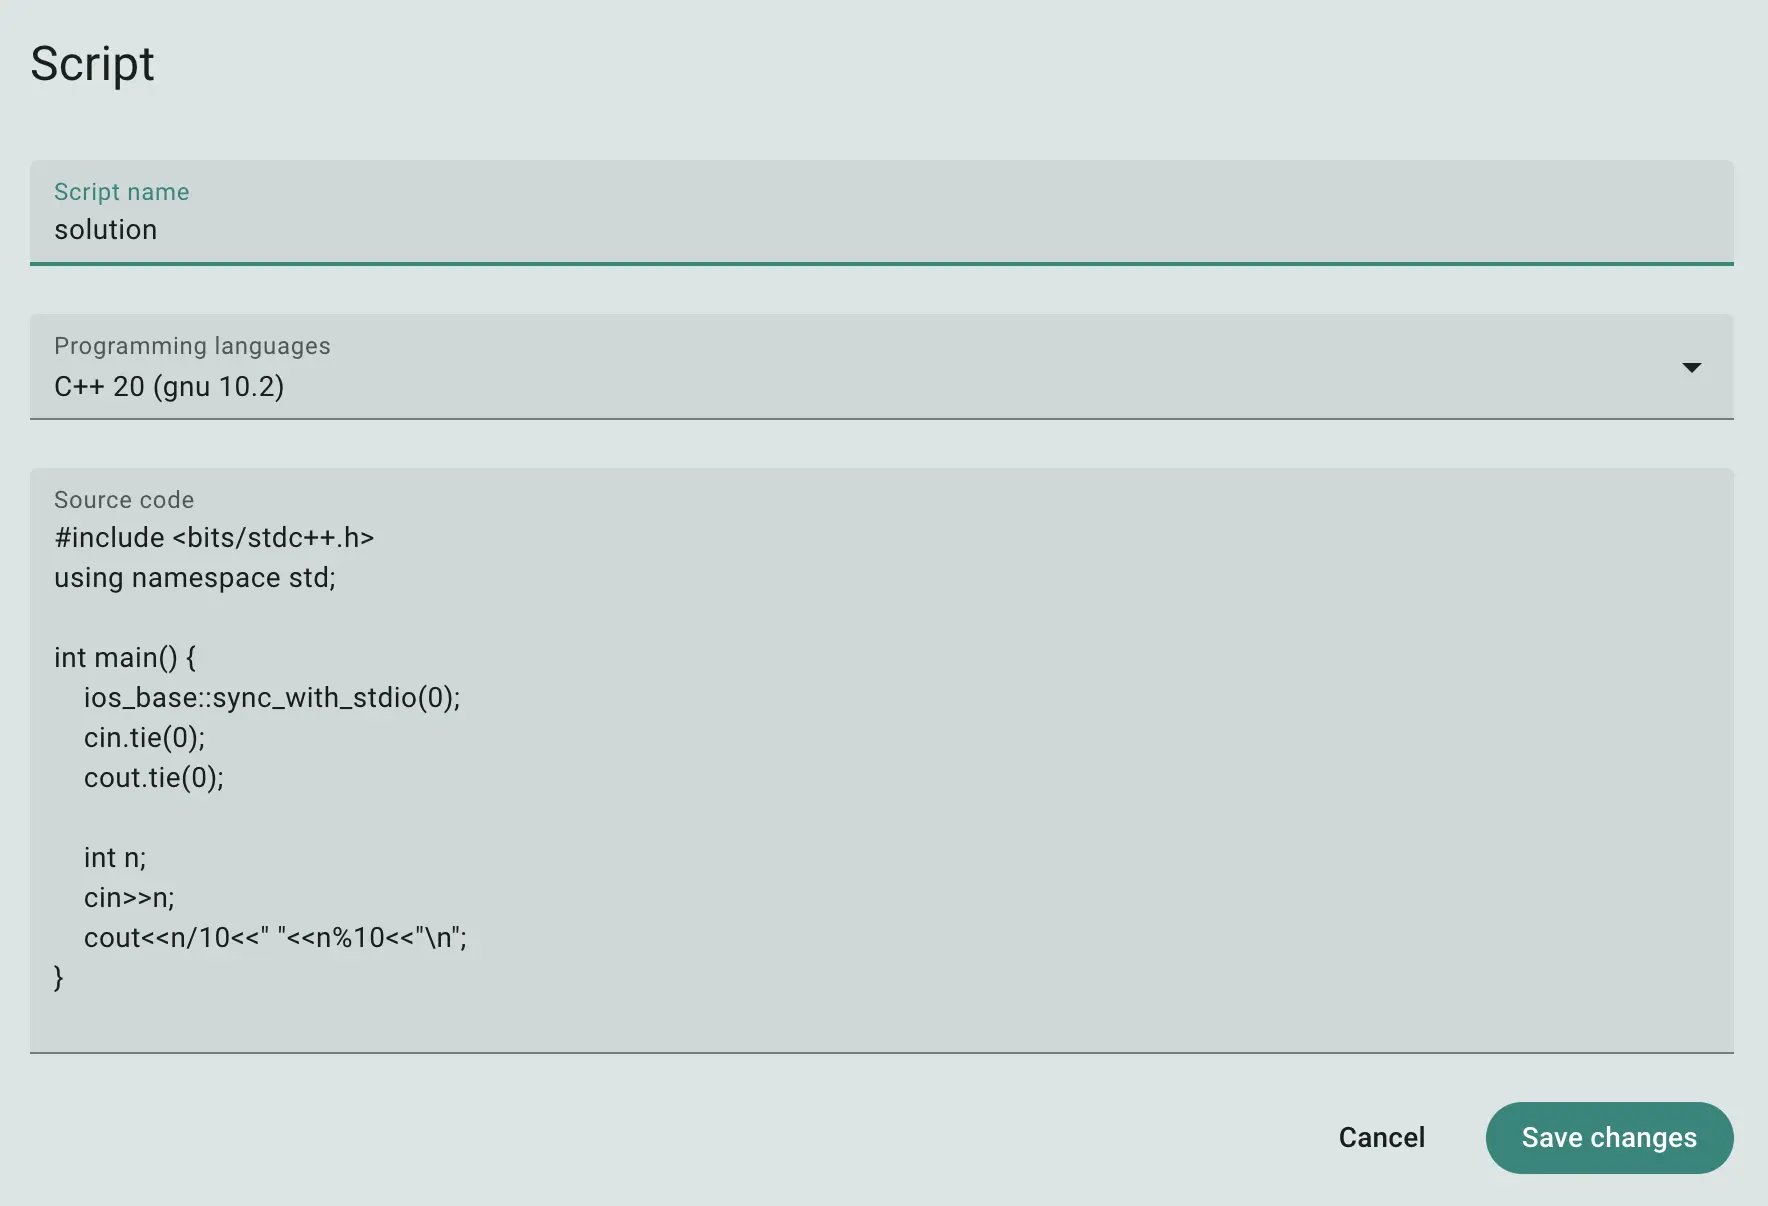
In the "Scripts" section of the problem, add a new script named "solution," select the programming language, and paste the source code of the author’s solution.
Fig 2. Script creation dialog
Go to the "Testing" section, select or add a test set.
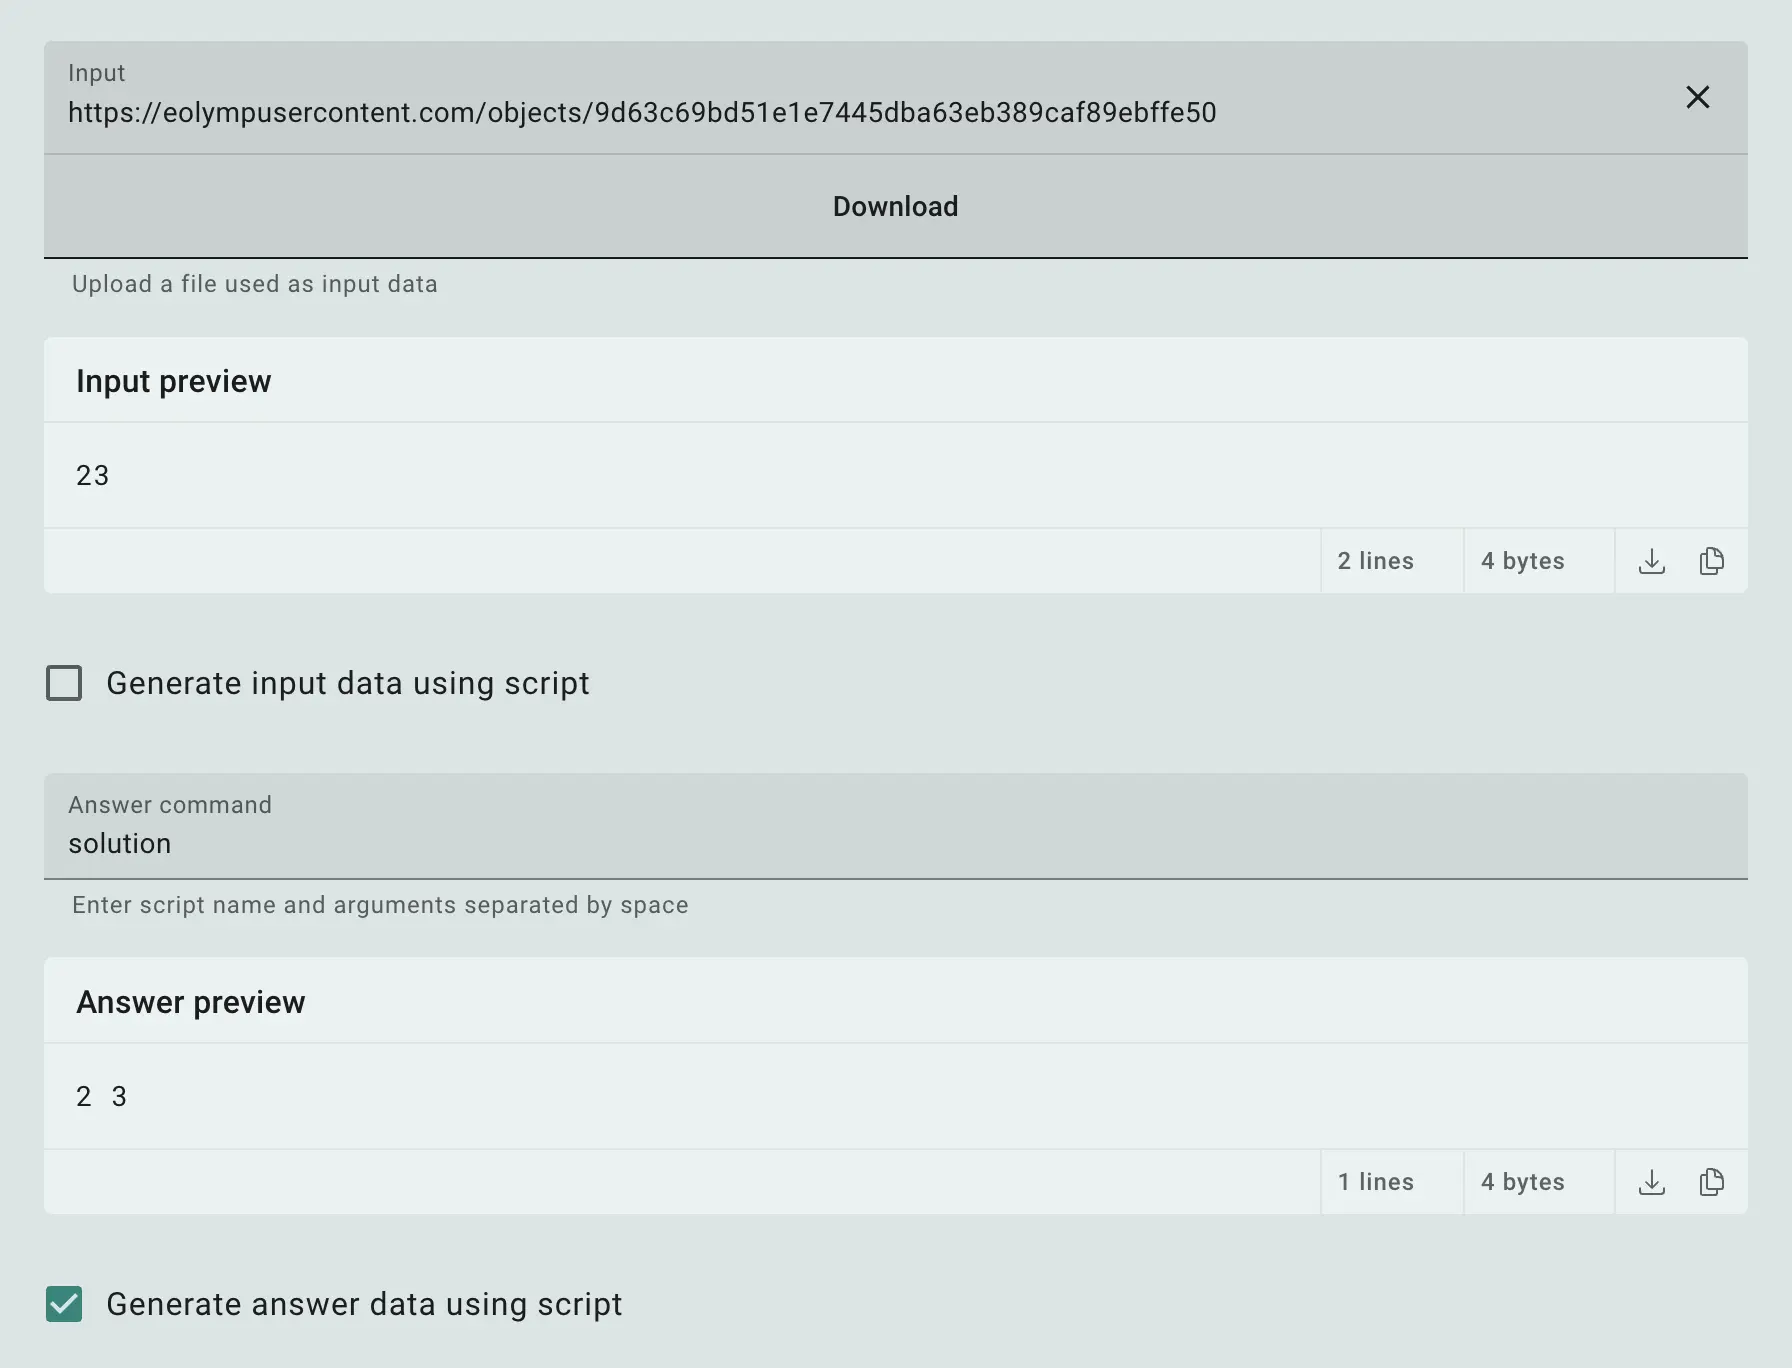
Add a new test, upload the input data, and choose "Generate answer data using script." Specify "solution" in the "Answer command" field.
Fig 3. Test editing interface
Note that the "Answer preview" section will appear only after the changes are saved and test data is generated. This may take up to a minute.
Generating Input for a Simple Problem
This example demonstrates how to write an input data generator for the Simple problem. The generator takes two arguments: the lower and upper bounds, and generates a random integer within that range. These arguments allow you to control the test parameters.
Here’s a sample generator script:
import random
import sys

if len(sys.argv) != 3:
    print("Usage: python gen.py <lower_bound> <higher_bound>")
    sys.exit(1)

lower = int(sys.argv[1])
higher = int(sys.argv[2])

print(random.randint(lower, higher))Create a script called gen to generate the inputs.
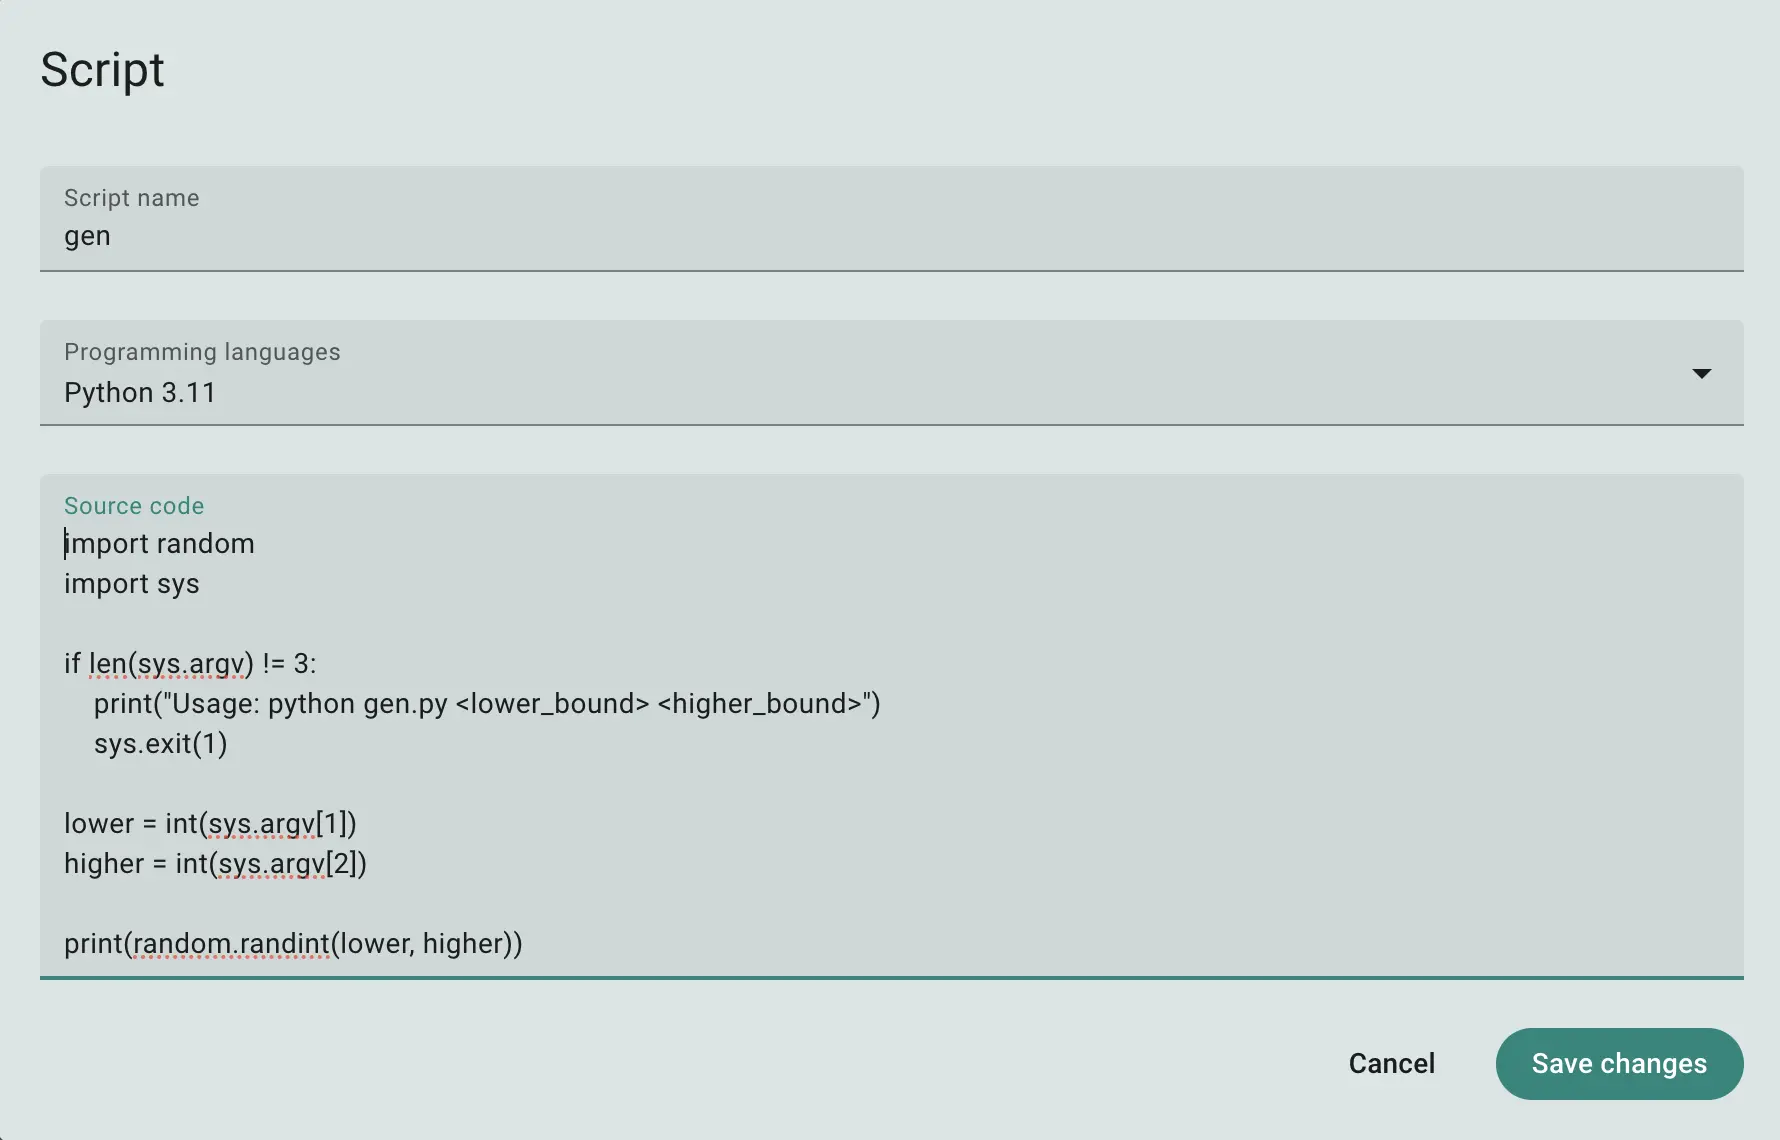
Fig 4. Script creation dialog for gen
To generate answers, you can use a solution for the simple problem written in Python:
n = int(input())
print(int(n / 10), n % 10)
Create a script called solution to generate the answers.
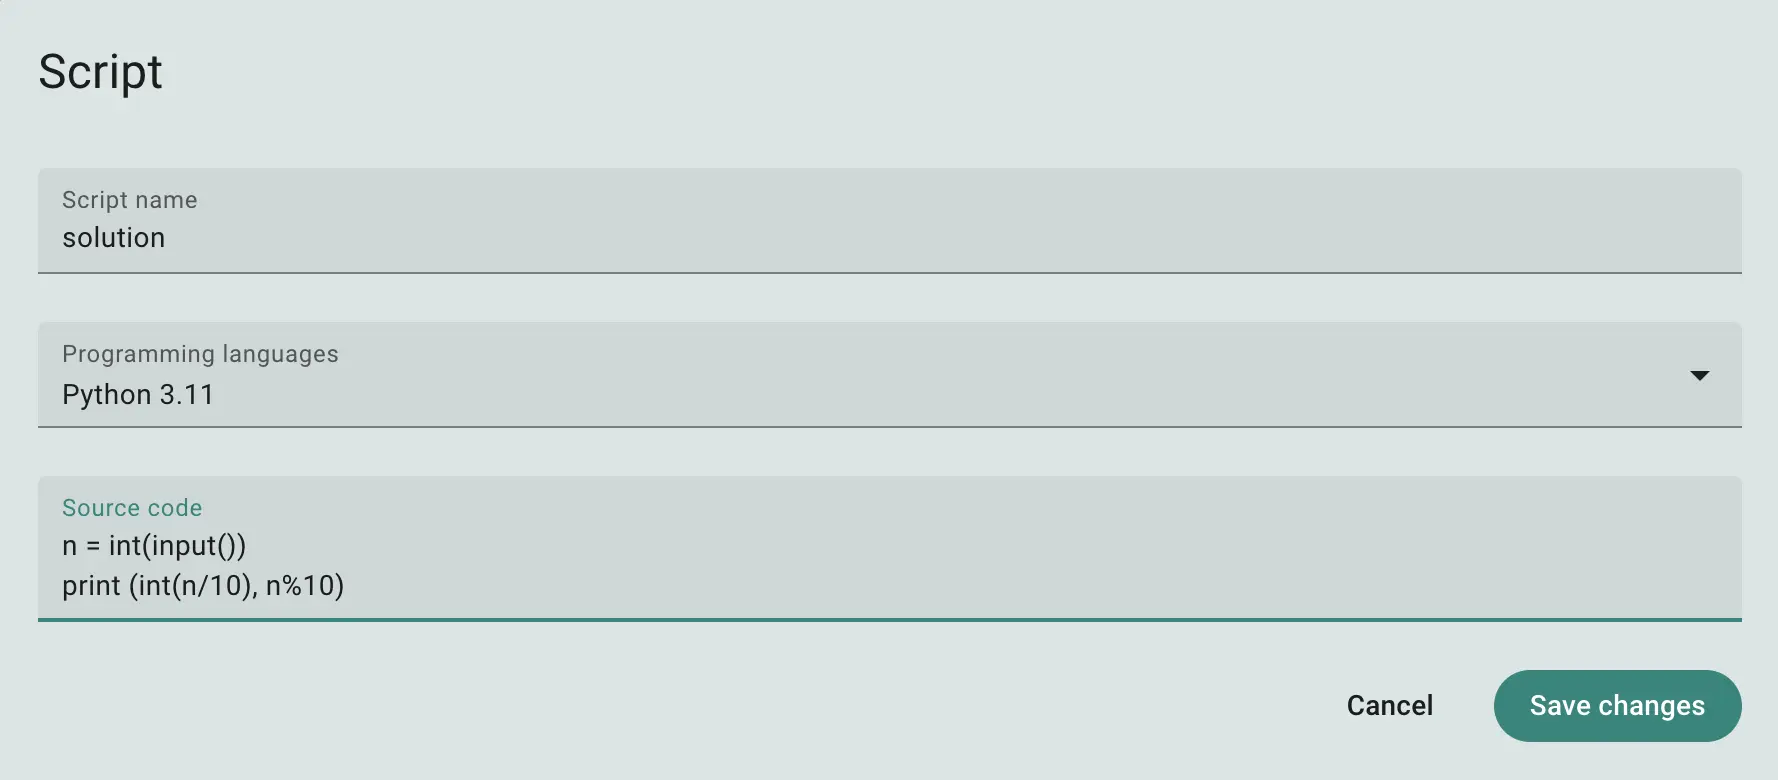
Fig 5. Script creation dialog for solution
Now, create the tests:
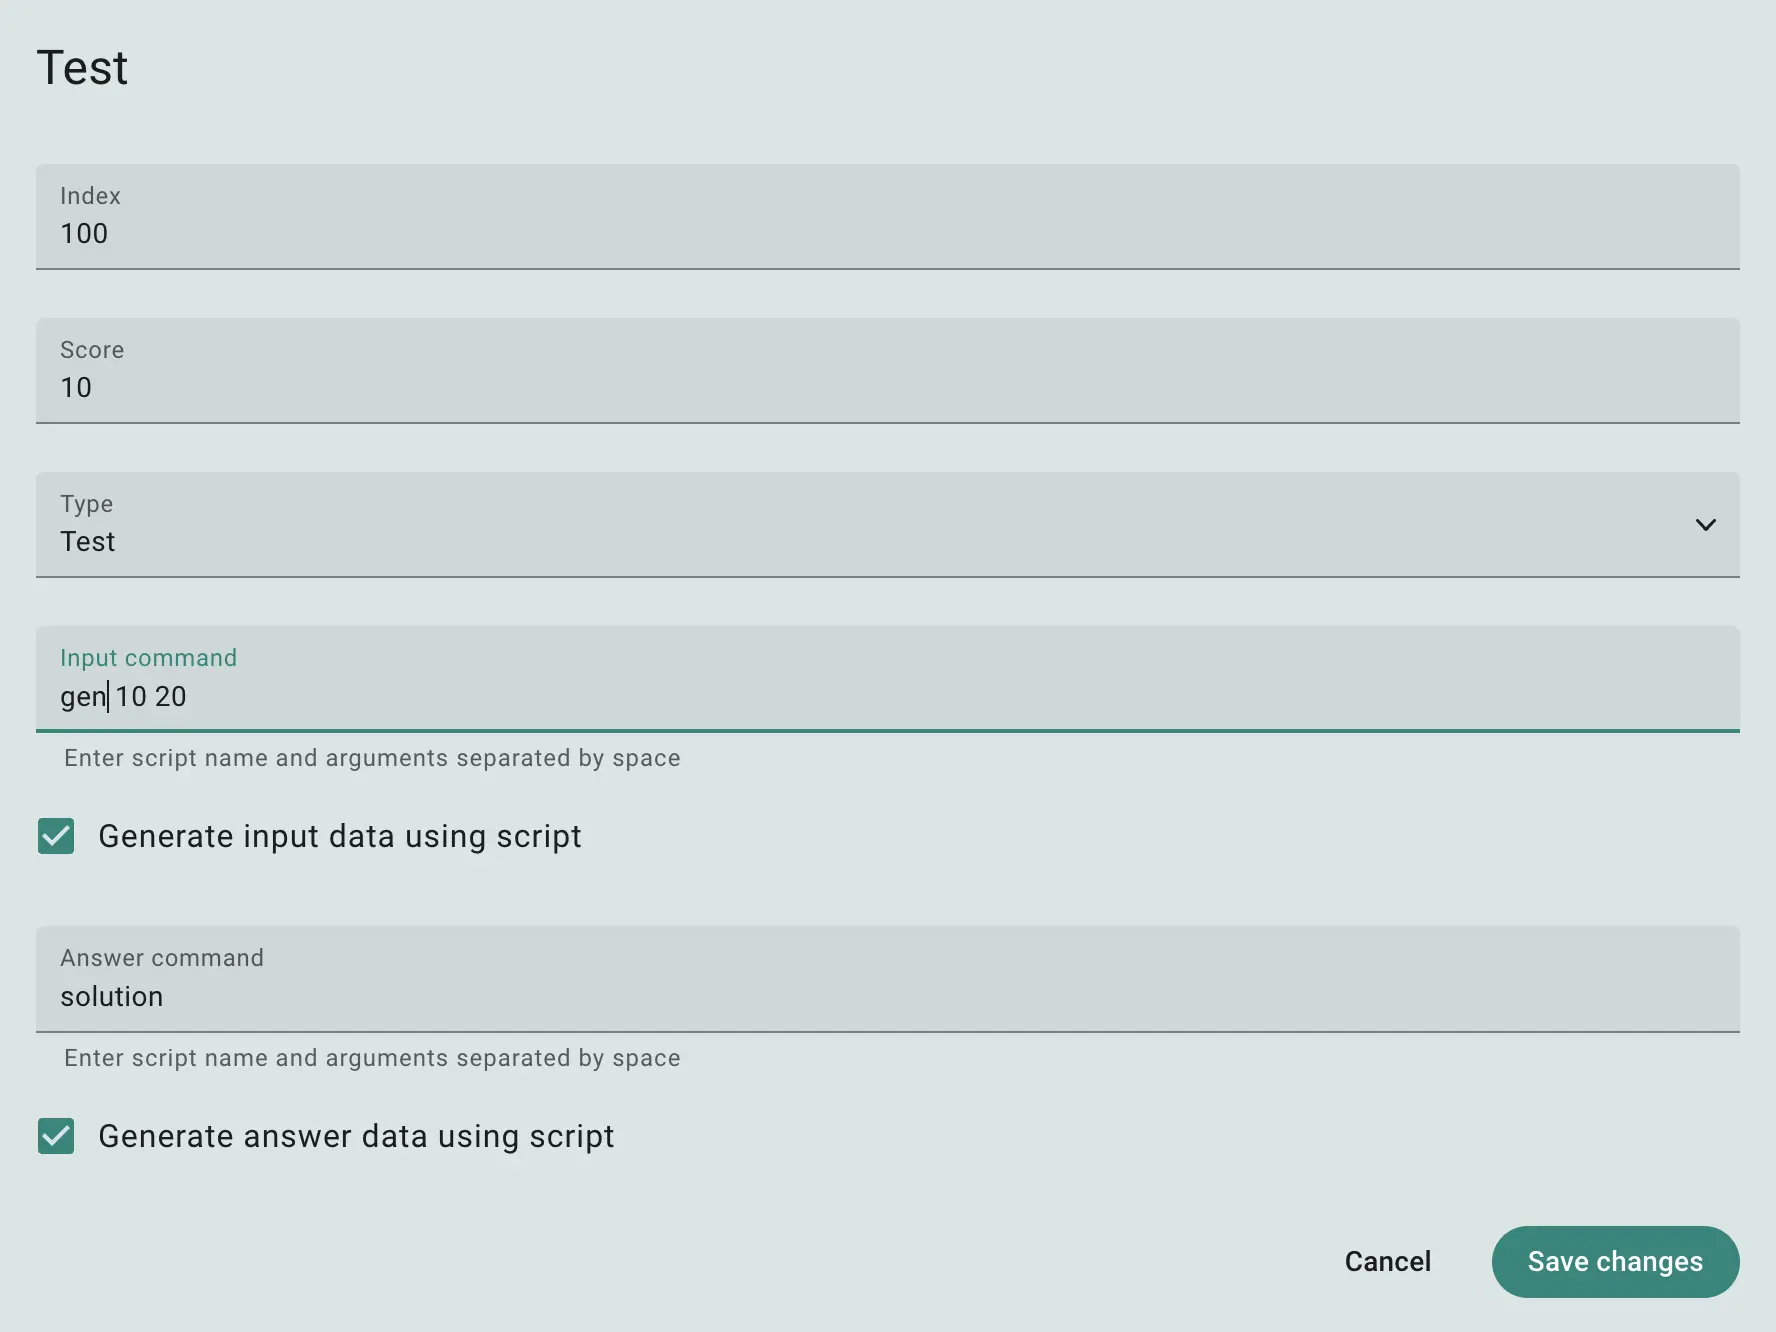
Fig 6. Dialog to create a new test using generated data
Here, use the gen script to generate a random integer between 10 and 20, and the solution script to calculate the answer. The solution script will receive the output of the gen script, allowing it to generate the correct answer.
After saving, the system will take a moment to generate the test data. Once ready, you can view the generated data in the preview window.
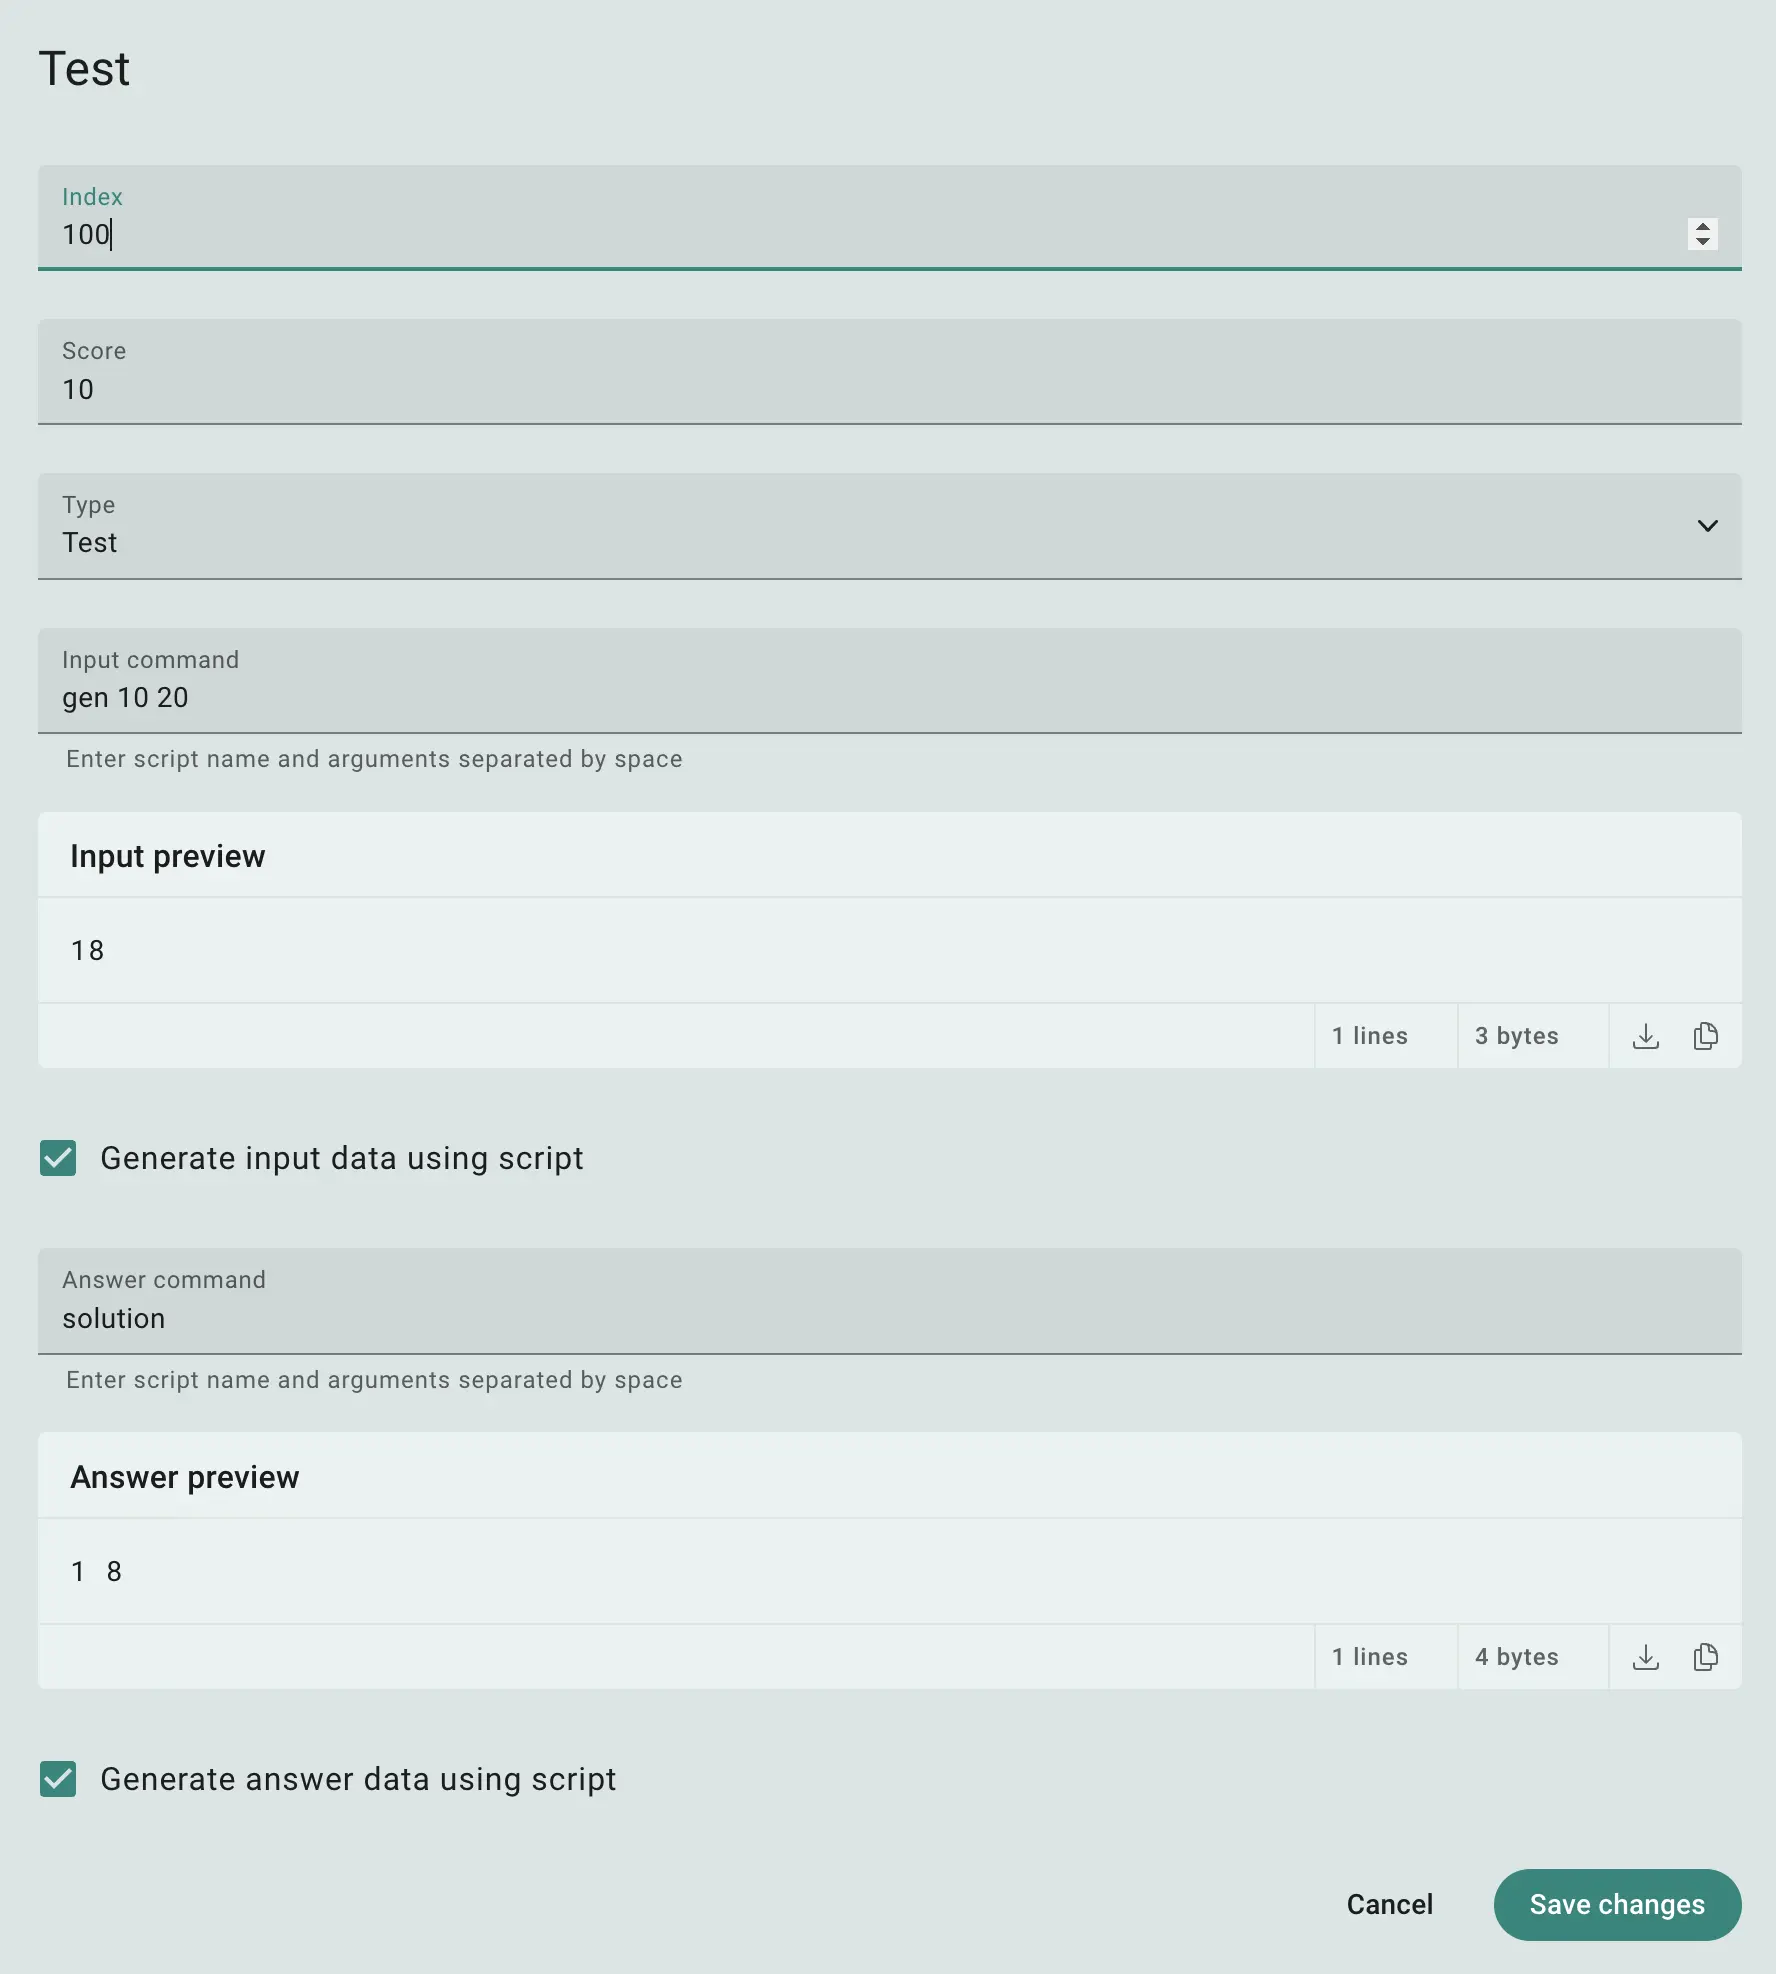
Fig 7. Preview of the generated data
You can continue adding more tests by using different values for the input generator, adjusting test parameters as needed.
 Stand with Ukraine