
Modules
Each course consists of modules, each module provides educational materials, explanations and practice problems. The modules may contain documents and tasks.
Documents allow adding text content to the module
Tasks allow practicing or testing students' knowledge
How to create a module?
Go to "Courses" section and choose a course where you want to add module
Click create module, fill and submit module form
In the form, you would need to specify,
Name, description and image, these will help students identify the module
Grading coefficient, defines how many points the module will contribute to the overall course score
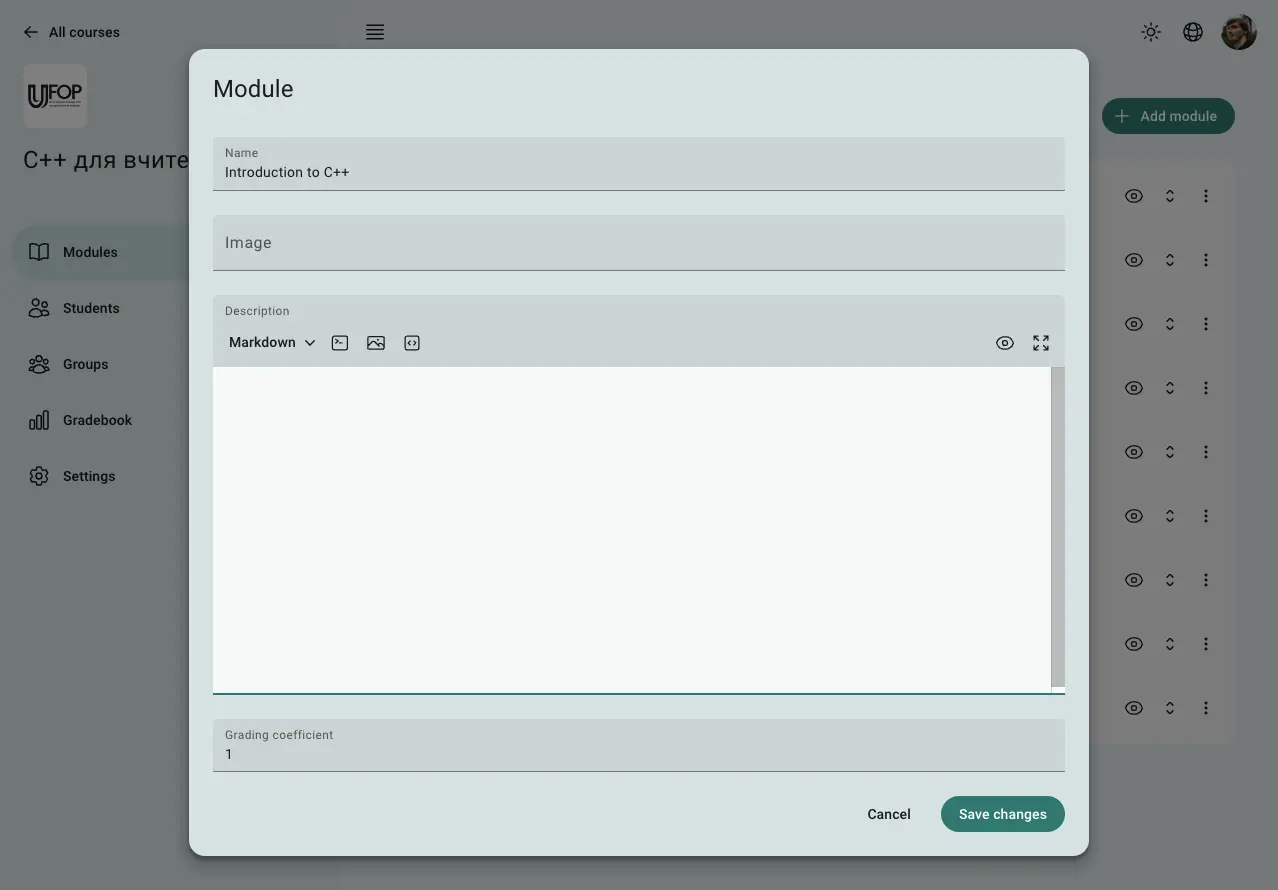
Fig 1. Module creation form
Once, you've added a module, you can start adding content: documents and tasks. The editor allows you to order modules and materials as well as change nesting levels to help to create hierarchy.
Documents
Documents allow adding text content to the module. They can be used to write, introductions, conclusions, explanations or tutorials.
Documents normally do not affect grade, but you can assign score to them. Full score will be granted to the student if they read the document.
To create document,
Open module
Click "Add element" and choose "Add document" in the menu
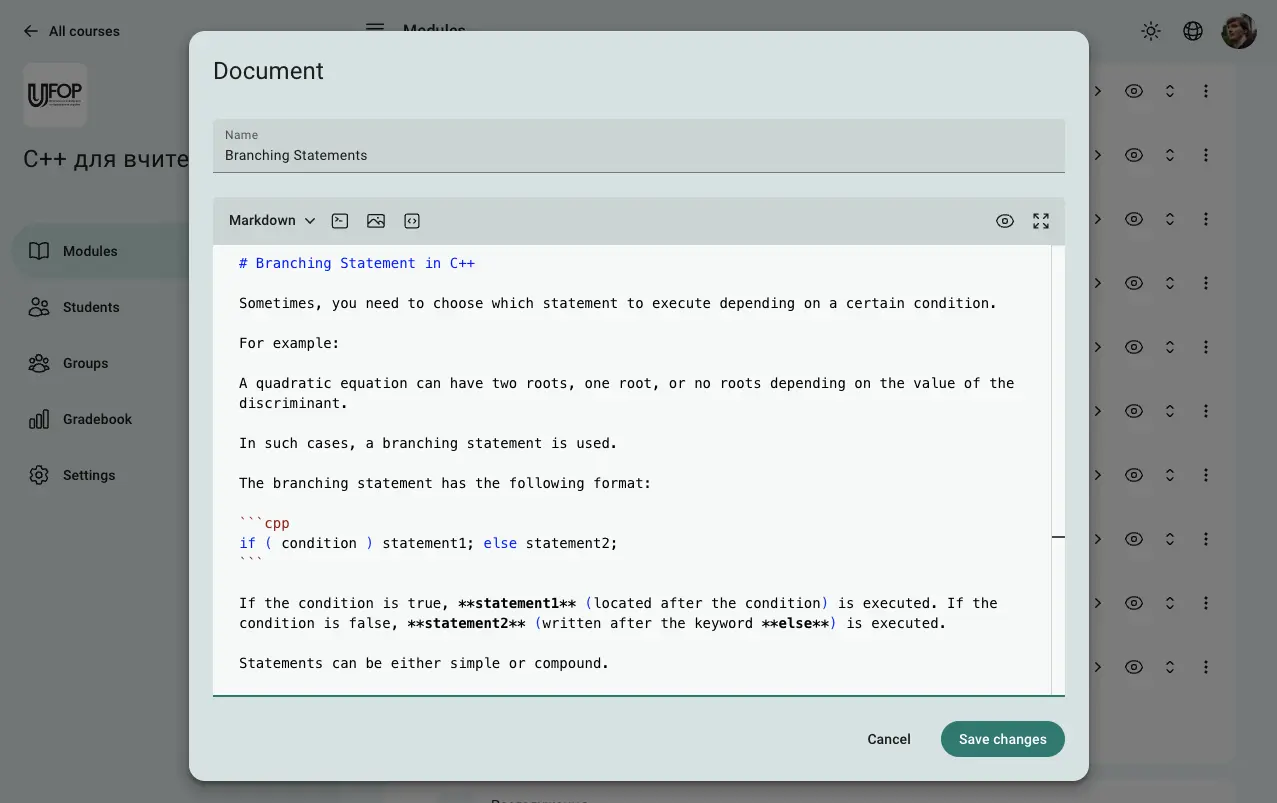
Fig 2. Document creation form
Tasks
Task allow adding practical or test content. You can use tasks as interactive tutorials, where the task statement describes an algorithm, or concept step by step and the student can follow instructions in the code editor, or, you can use tasks to test the student's knowledge.
To create task,
Open module
Click "Add element" and choose "Add task" in the menu
You can only select problems from the same space as the course. If you want to use problems from another space, you can import them.
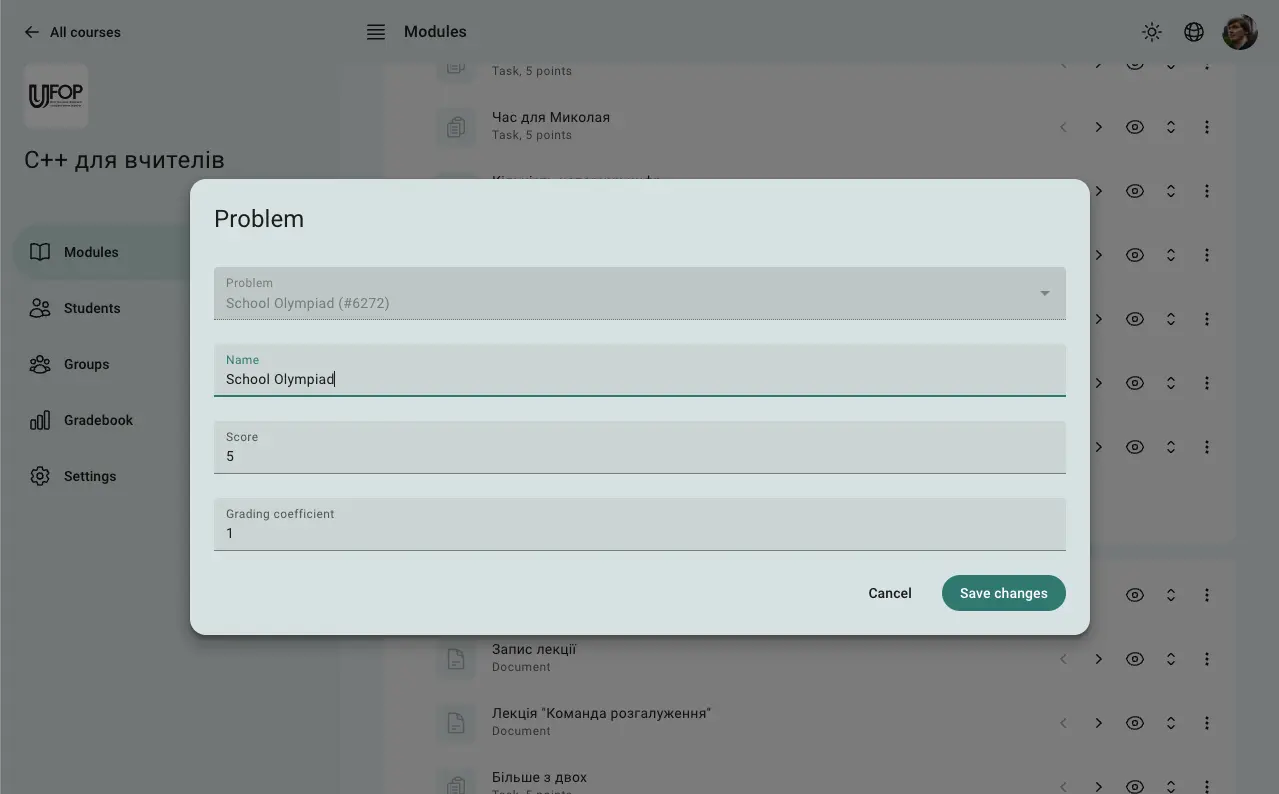
Fig 3. Task creation form
 Stand with Ukraine