
Profile fields
Profile fields are the extra information your space collects about its members — a school, a class, a competitor code, a consent checkbox. You define them once under Settings → Profile, and they then appear both on the member's screen in the console and on the registration and profile form on your space's website.
You need permission to change the space. How many fields you may define is capped by your plan; see Quotas and limits.
Add a field
Open the console and select your space.
Go to Settings → Profile. You can also get there from Settings → General → Members → Profile fields.
Click Create and fill in the form.
Field | What it does |
|---|---|
Key | The identifier the value is stored under. It must be unique within the space, and it cannot be changed after the field is created. |
Name | The label shown above the field. |
Description | Help text shown below the field. |
Visibility | Public — everyone sees it. Private — administrators and the member. Internal — administrators only. |
Type | The kind of value, and which validation settings the form then offers. See below. |
Required | The value cannot be empty. |
Read-only | Only administrators can change the value. A member may still supply it when they register. |
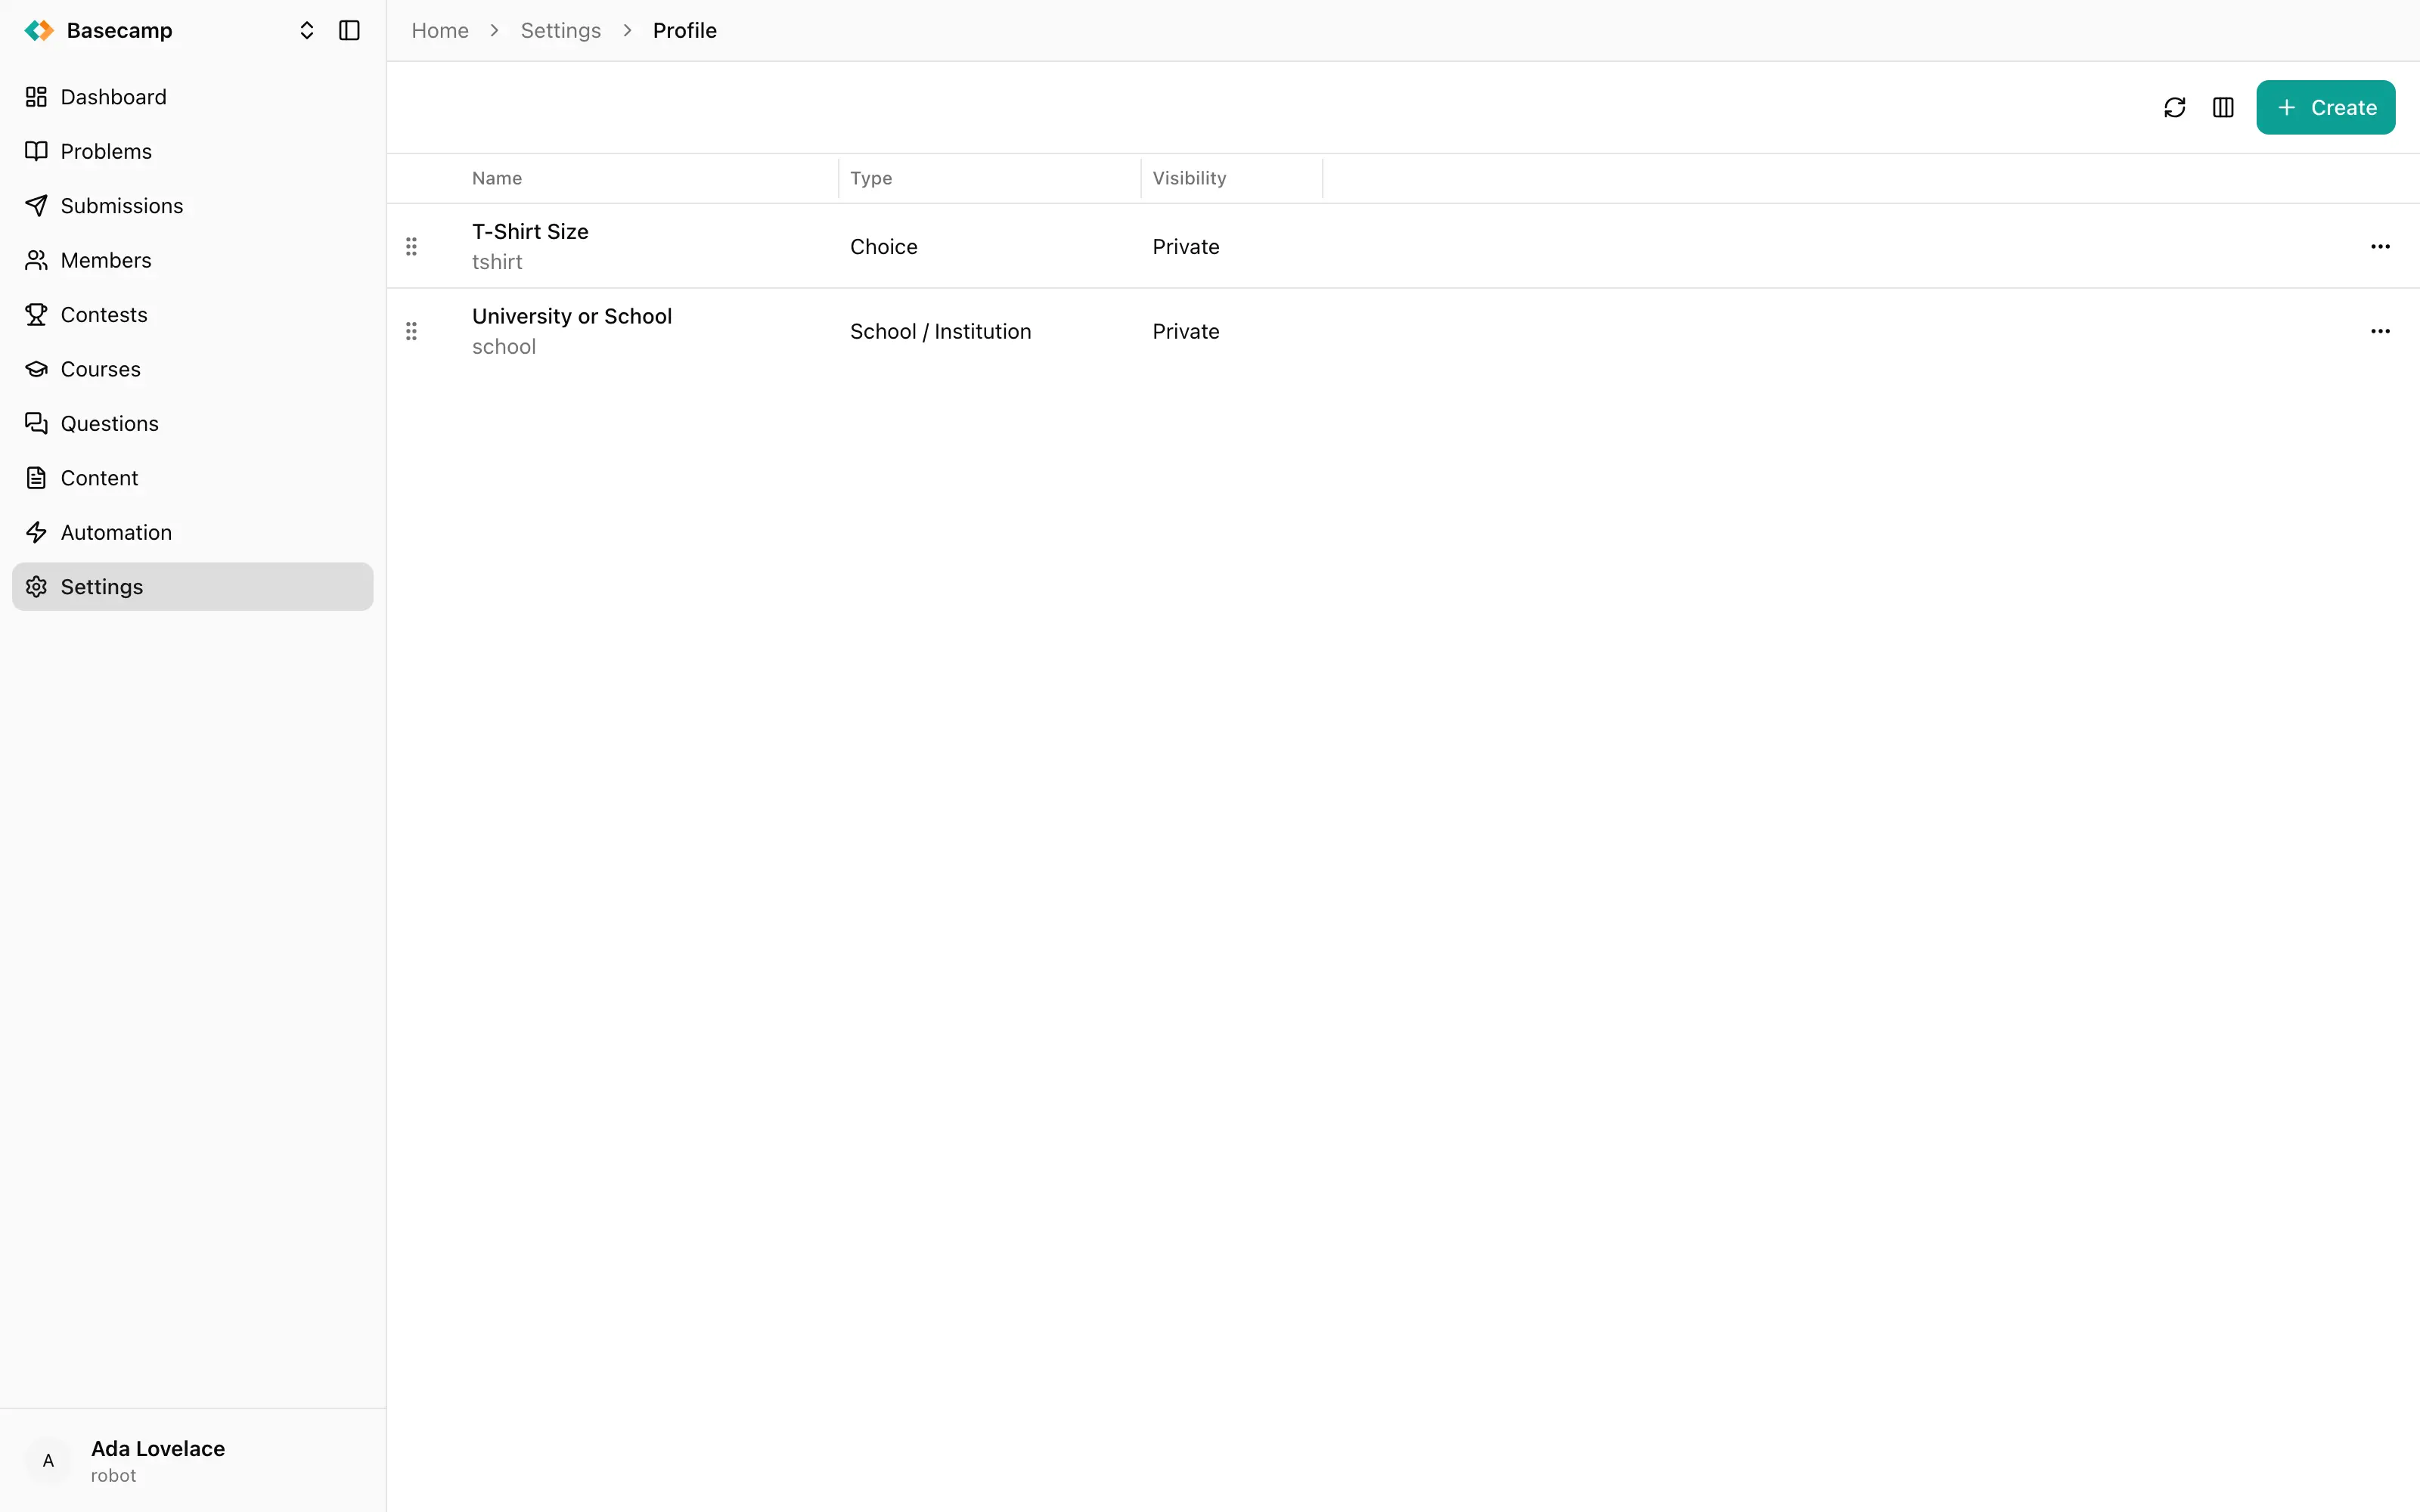
Fig 1. Creating a profile field: key, name, visibility, type and the per-type validation settings.
Pick the key with some care. It's fixed once the field exists, and the only way to change it is to delete the field and make a new one, which loses the values already collected.
Field types
The type decides how the value is entered and what validation the form offers.
Type | Validation you can set |
|---|---|
String | Minimum and maximum length, regular expression |
Text (multiline) | Minimum and maximum length, regular expression |
Number | Minimum and maximum value |
Choice | The allowed values |
Date | — |
— | |
Checkbox | — |
Country | The allowed countries |
Region | The countries regions may be chosen from |
School / Institution | Allowed countries and institution constraints |
Image | — |
File | — |
Order the fields
The table of fields is reordered by dragging, and that order is the order the fields appear in on the public profile form. Put what you actually need at the top: a registering member works down the form.
Fill in a value
Each member's screen has a Profile card listing your fields and this member's values, rendered according to each field's type. Edit opens a form built from the field definitions, with each field's validation applied. The card isn't shown at all in a space that defines no fields. Teams carry the same fields and have the same card.
You don't have to fill required fields in yourself when you add a member. A member whose required fields are unanswered is marked incomplete, and completes the profile form when they first sign in to the space.
Delete a field
Deleting a field takes it off the form and, as the confirmation warns, may remove the values already stored for it on every member. There's no undo, and re-creating a field with the same key doesn't bring the data back.
Where the values are used
Display name — the space-wide name rule can be bound to any field, so a field's value becomes the name shown throughout the console and the site.
Contests — field values are available as columns on participant lists and scoreboards.
Registration — the profile form people complete when they sign up is built from these fields, in the order you set.
Which of the identity details a member can edit — name, nickname, email, password — is not set here. That depends on the identity provider.
 Ukrayna ilə durun